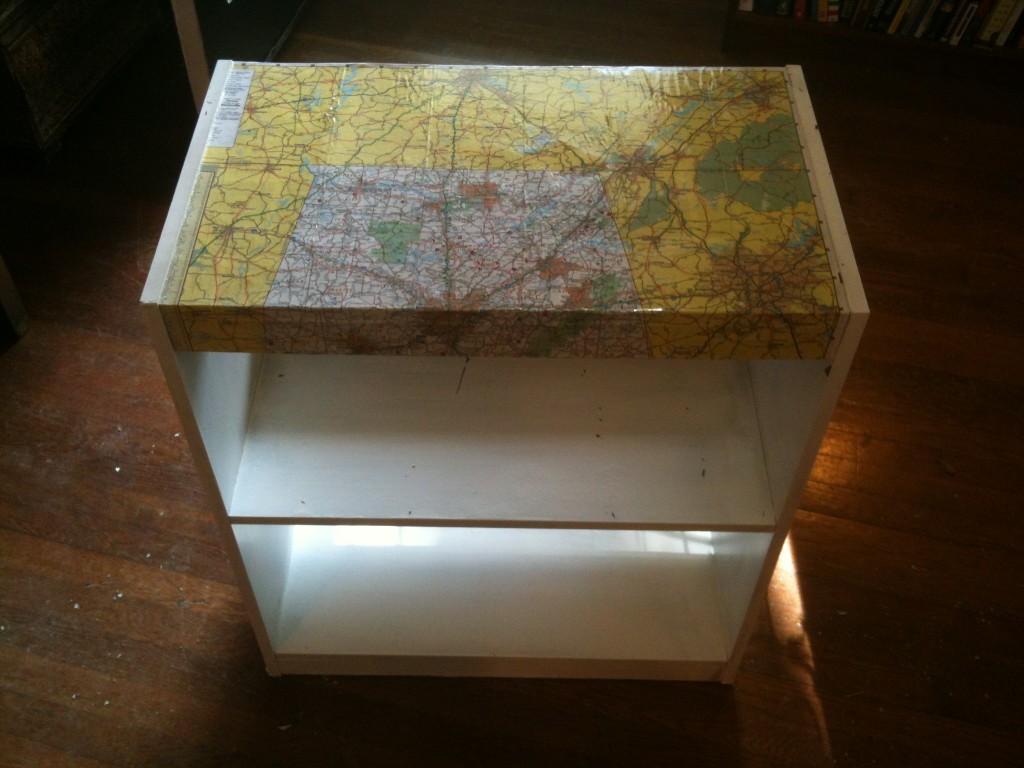
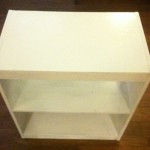
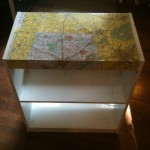
Re-purposing furniture with a map can bring a sense of adventure back to, what some would consider, a throwaway piece of furniture. Take this old shelf from my husband’s bachelorhood days for example, I found it in the attic while I was looking for design elements for my Closet Office project. . . I hadn’t told my husband yet but it was slated for Goodwill and on the way out the door when I had an idea.
We had an old map from our trip to New Orleans and a need for not only more shelf space for the library, but a side table that fit with our travel theme. Bonus on this project was a can of clear gloss spray paint I bought at Bricolage. I love that I had added so much meaning to this project by simply using what I have.
Time :
Approximately 3 hours
What you will need :
- Old book shelf or side table
- Elmer’s Glue
- Ruler
- Pencil
- Iron & Ironing Board
- Paint brush
- Map
- Paint (optional)
- Sanding block
- Damp cloth
- Scissors
- Container to mix glue in
- gloss spray sealer
Directions :
- Sand down the piece of furniture and wipe with a damp cloth (you just want to prep the surface not sand it down completely)
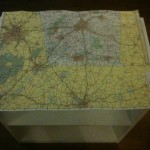
- Carefully steam iron the map to remove any folds and set aside
- Paint piece of furniture and let dry completely
- Position map on area that you want to be covered and use ruler and pencil to mark your cuts – set aside
- Mix 1/2 cup Elmer’s Glue with 1/4 cup warm water in container (mix thoroughly)
- Dip brush into glue mixture and surface of furniture that will be covered with map
- Carefully place map on surface of furniture and press to remove all air bubbles.
- Once map is in place, coat top with a layer of glue mixture and let dry completely
- Once map is completely dry spray seal the top with a few coats of high gloss sealer
- (optional) once piece is completely dry, sand away bits of paint to “rough up” and distress the piece of furniture.
—
What fun projects have you made using maps?

