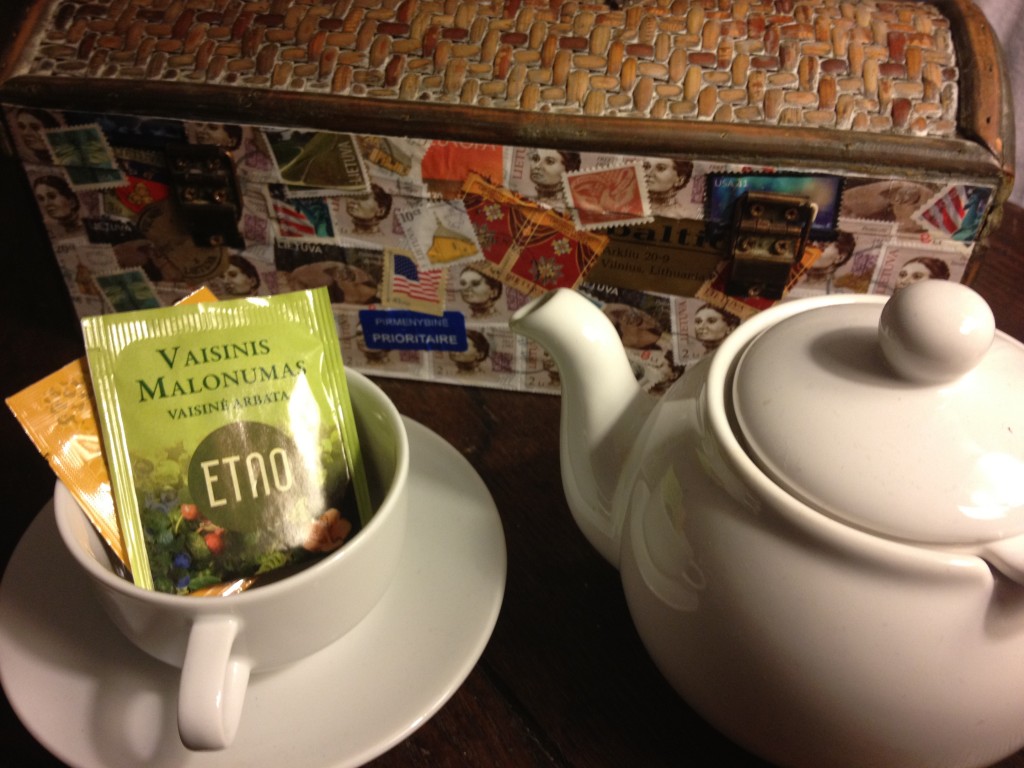
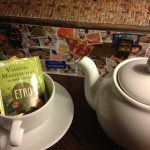
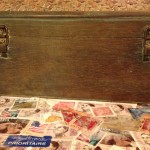
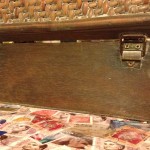
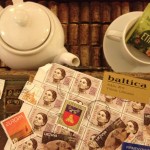
I was inspired recently to take a lovely chest that I store my favorite tea bags in and add a bit of character to it.
You see, I am always looking for ways to re-purpose and reuse everyday things that most would simply throw away. . . like stamps.
For months now, I have been saving beautiful stamps from packages exchanged with my twitter friend Asta, who happens to live in the lovely country of Lithuania.
Each package I received was carefully dissected to save each and every stamp, which lay in my creative closet until inspiration struck.
After rearranging my office and finding rogue stamps at the bottom of a drawer, I had the thought to cover the fairly blah back of my tea chest.
If you save the stamps from your packages long enough you could cover just about anything! Be sure to come back and share what you made with your saved stamps!
Time:
This was an evening project that took me about 3 hours start to finish (including putting the hardware back on!) Perfect project for a girls night in and a good movie.
Materials:
- you’ll need a small chest or flat surface to work with.
- screwdriver
- sand paper (to rough up the surface a bit)
- scissors
- measuring tape
- pencil
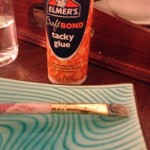
- Elmer’s glue – (I mistakenly bought tacky glue, and was confused why it never quite felt dry. Until I realized my mistake & finished with regular Elmers Glue-All.)
- small paint brush
- water
- dish (to mix the water and glue together)
- card stock paper
- hair dryer
Directions* :
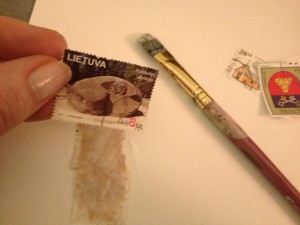 gather all of your stamps, clean and separate them
- measure your chest and create a template out of the card stock paper. (I took the hardware off of my tea chest and drew an outline of the chest on the paper)
- in a small dish, mix glue and water until you have a milky consistency
- before gluing ANYTHING use the card stock paper to map out the placement of your stamps in layers. (back layer, middle layer top layer)
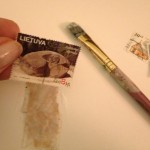
- using the small paint brush, brush on the glue mixture on the back of the stamp and place on the card stock paper
- brush over top of each stamp with glue mixture as they are placed
- using a hair dryer, carefully dry each layer with a low steady heat until the glue is dry
- once final layer is complete set card stock/stamp paper aside
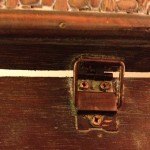
- using screwdriver, remove hardware and set aside (careful not to lose those small parts!)
- lightly sand the surface card stock/stamp paper will be applied to and remove any remaining dust
- using glue straight from the bottle, apply liberally to the surface and to the back of the card stock/stamp paper and use paint brush to evenly distribute
- align edges and position paper on surface until it is where you want it.
- set aside and let dry (over night is best, but you can use the hair dryer if you are impatient)
- put the hardware back in place and voila! You have a beautiful reminder of the gift of friendship every time you take your tea.
*You can apply the stamps directly to the surface. I chose to use card stock as a back, just in case the chest became damaged, I could salvage the stamps for another project.
What DIY projects have you made with stamps?
Share a link to your post and what inspired you to make it.

