

I love rescuing wayward chairs and giving them a second life.
This particular chair was a wonderful Goodwill find that was only $7.00. Not only did it fit into my DIY blogging budget, but (aside from the seat being a horrendous pink fabric) the frame was in perfect condition. Cutting down on the time investment.
When it comes to finding new ways to reuse coffee bean bags, there is inspiration in every chair, footstool, pillow.
Start to finish:
Approximately 30 minutes.
You will need :
burlap coffee bean bag (The one I used came from local roaster Krankies)
staple gun
flat head screw driver
needle nose pliers
scissors
chair
What you will do :
- cut the seam sides of the coffee bag off
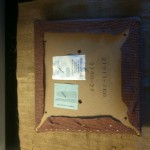
- center the seat on the image or text on your coffee bean bag and cut off excess burlap
- flip seat over face down (make sure you do this carefully so your image remains centered)
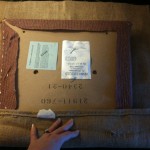
- use staple gun the set 4 anchor points in the center of each side of the chair seat
- working carefully, pull burlap taut and staple all around except corners
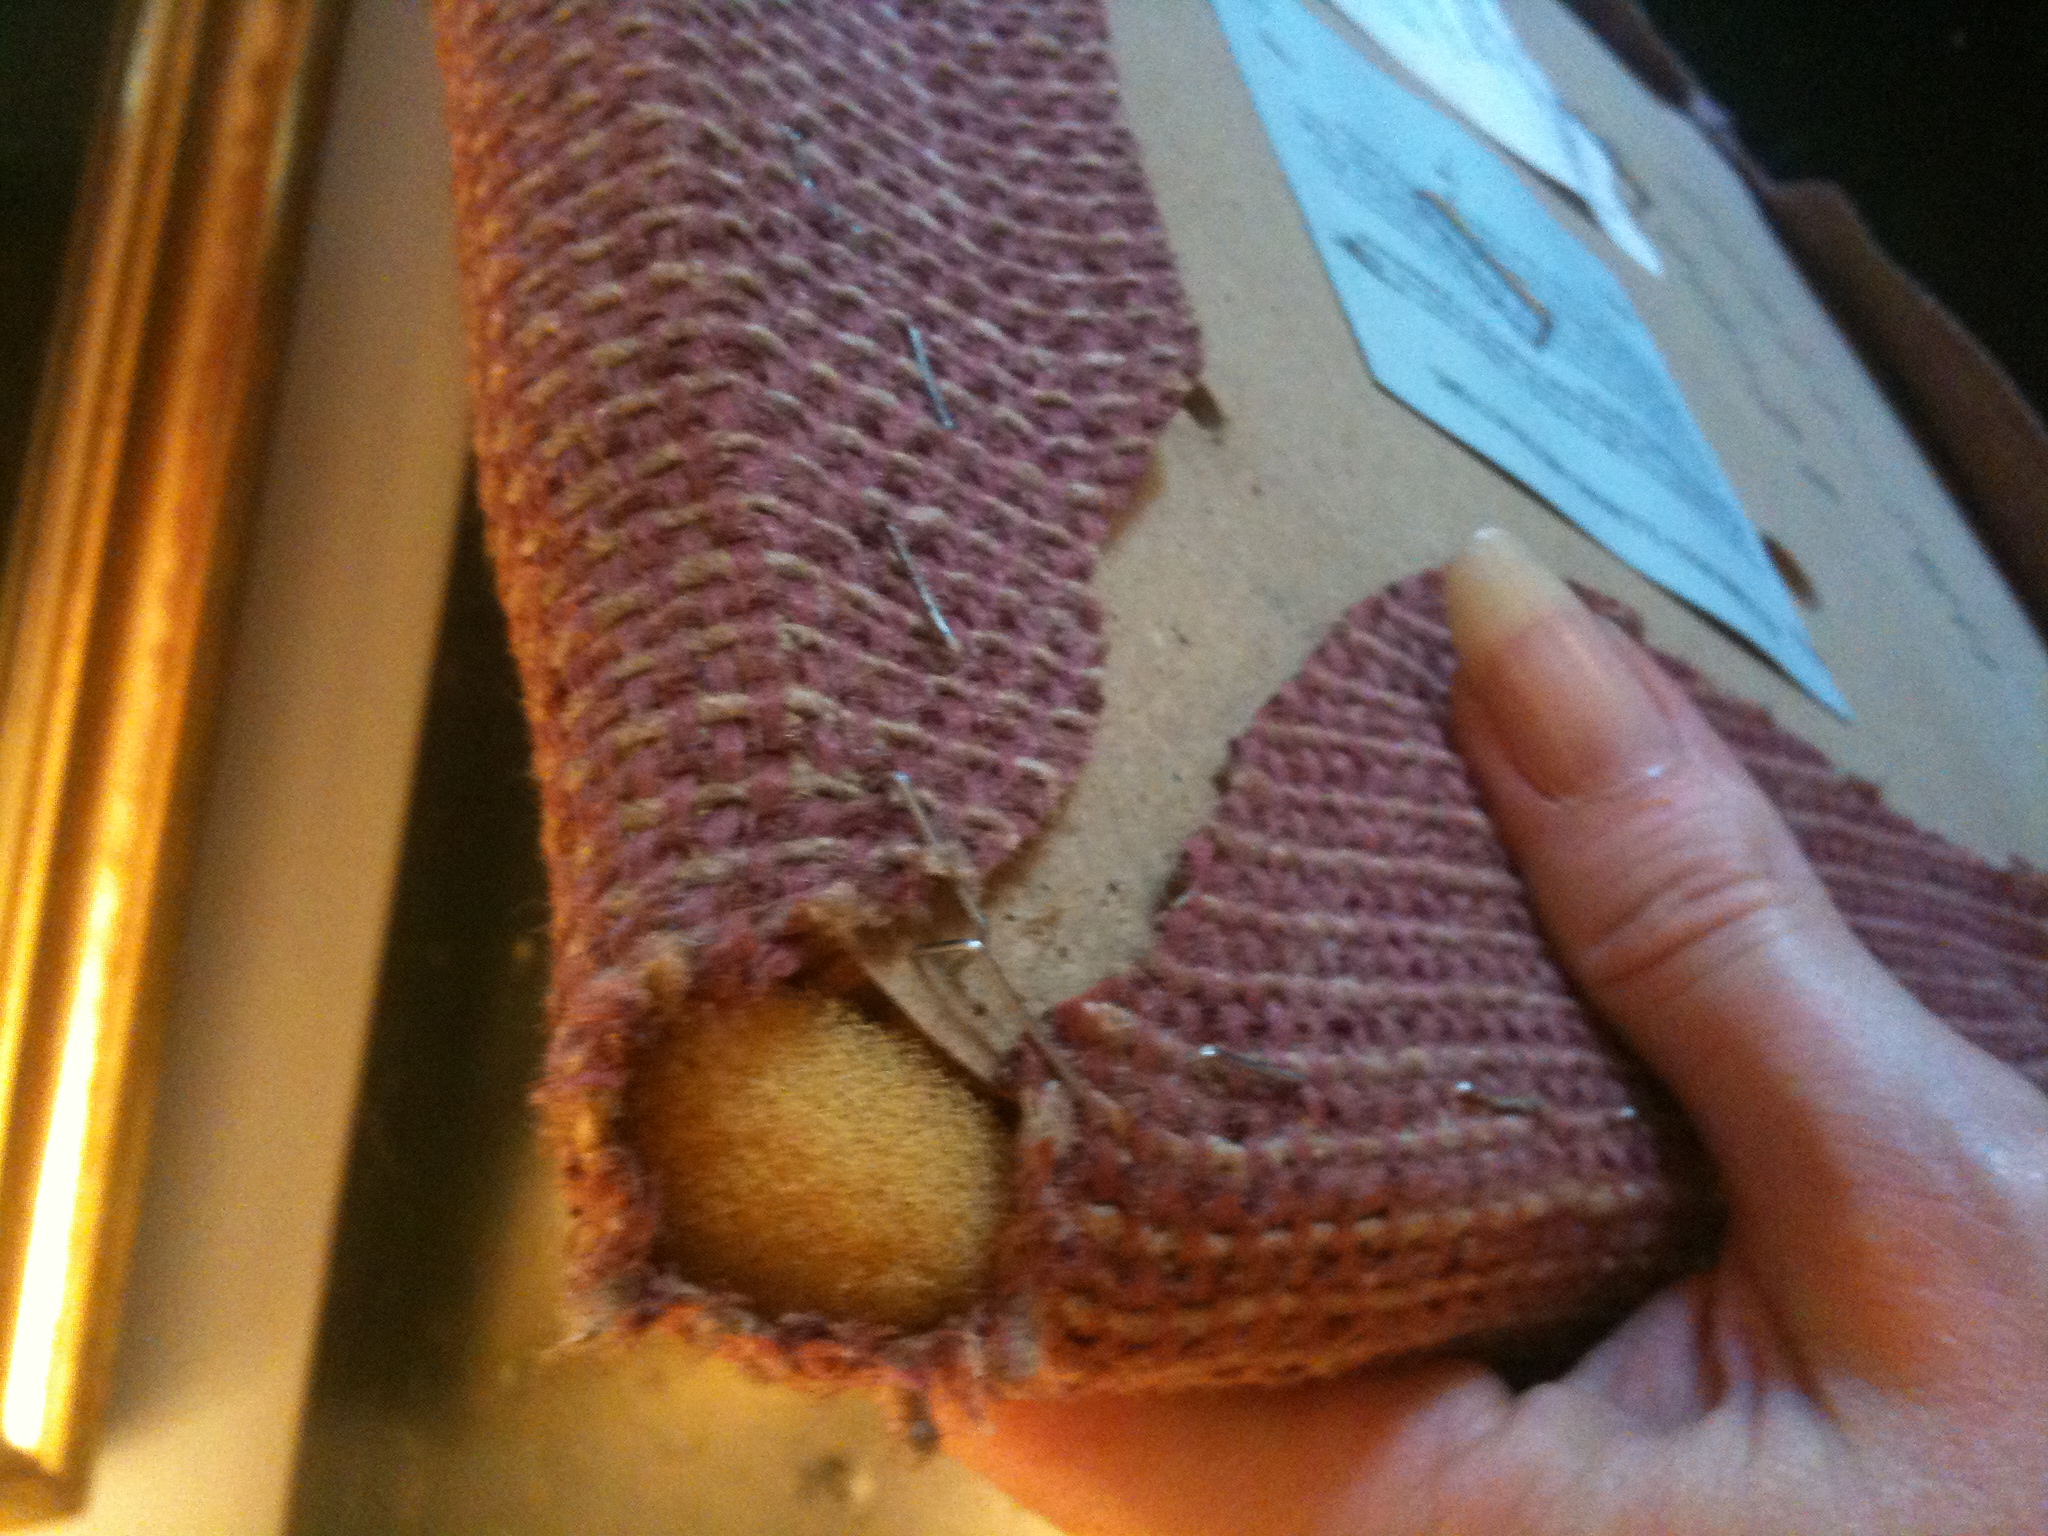
- hold corner fabric taut to create even creases and staple
- cut excess fabric (not to close to the burlap!)
- polish your chair and replace seat securely
- sit down and enjoy a cup of coffee
Note: You can sew a backing on the burlap (an old sheet will do) to keep it from fraying. I chose not to and placed my staples closer together.
—
What have you made out of coffee bean bags?
-
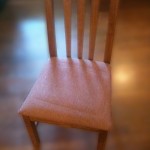
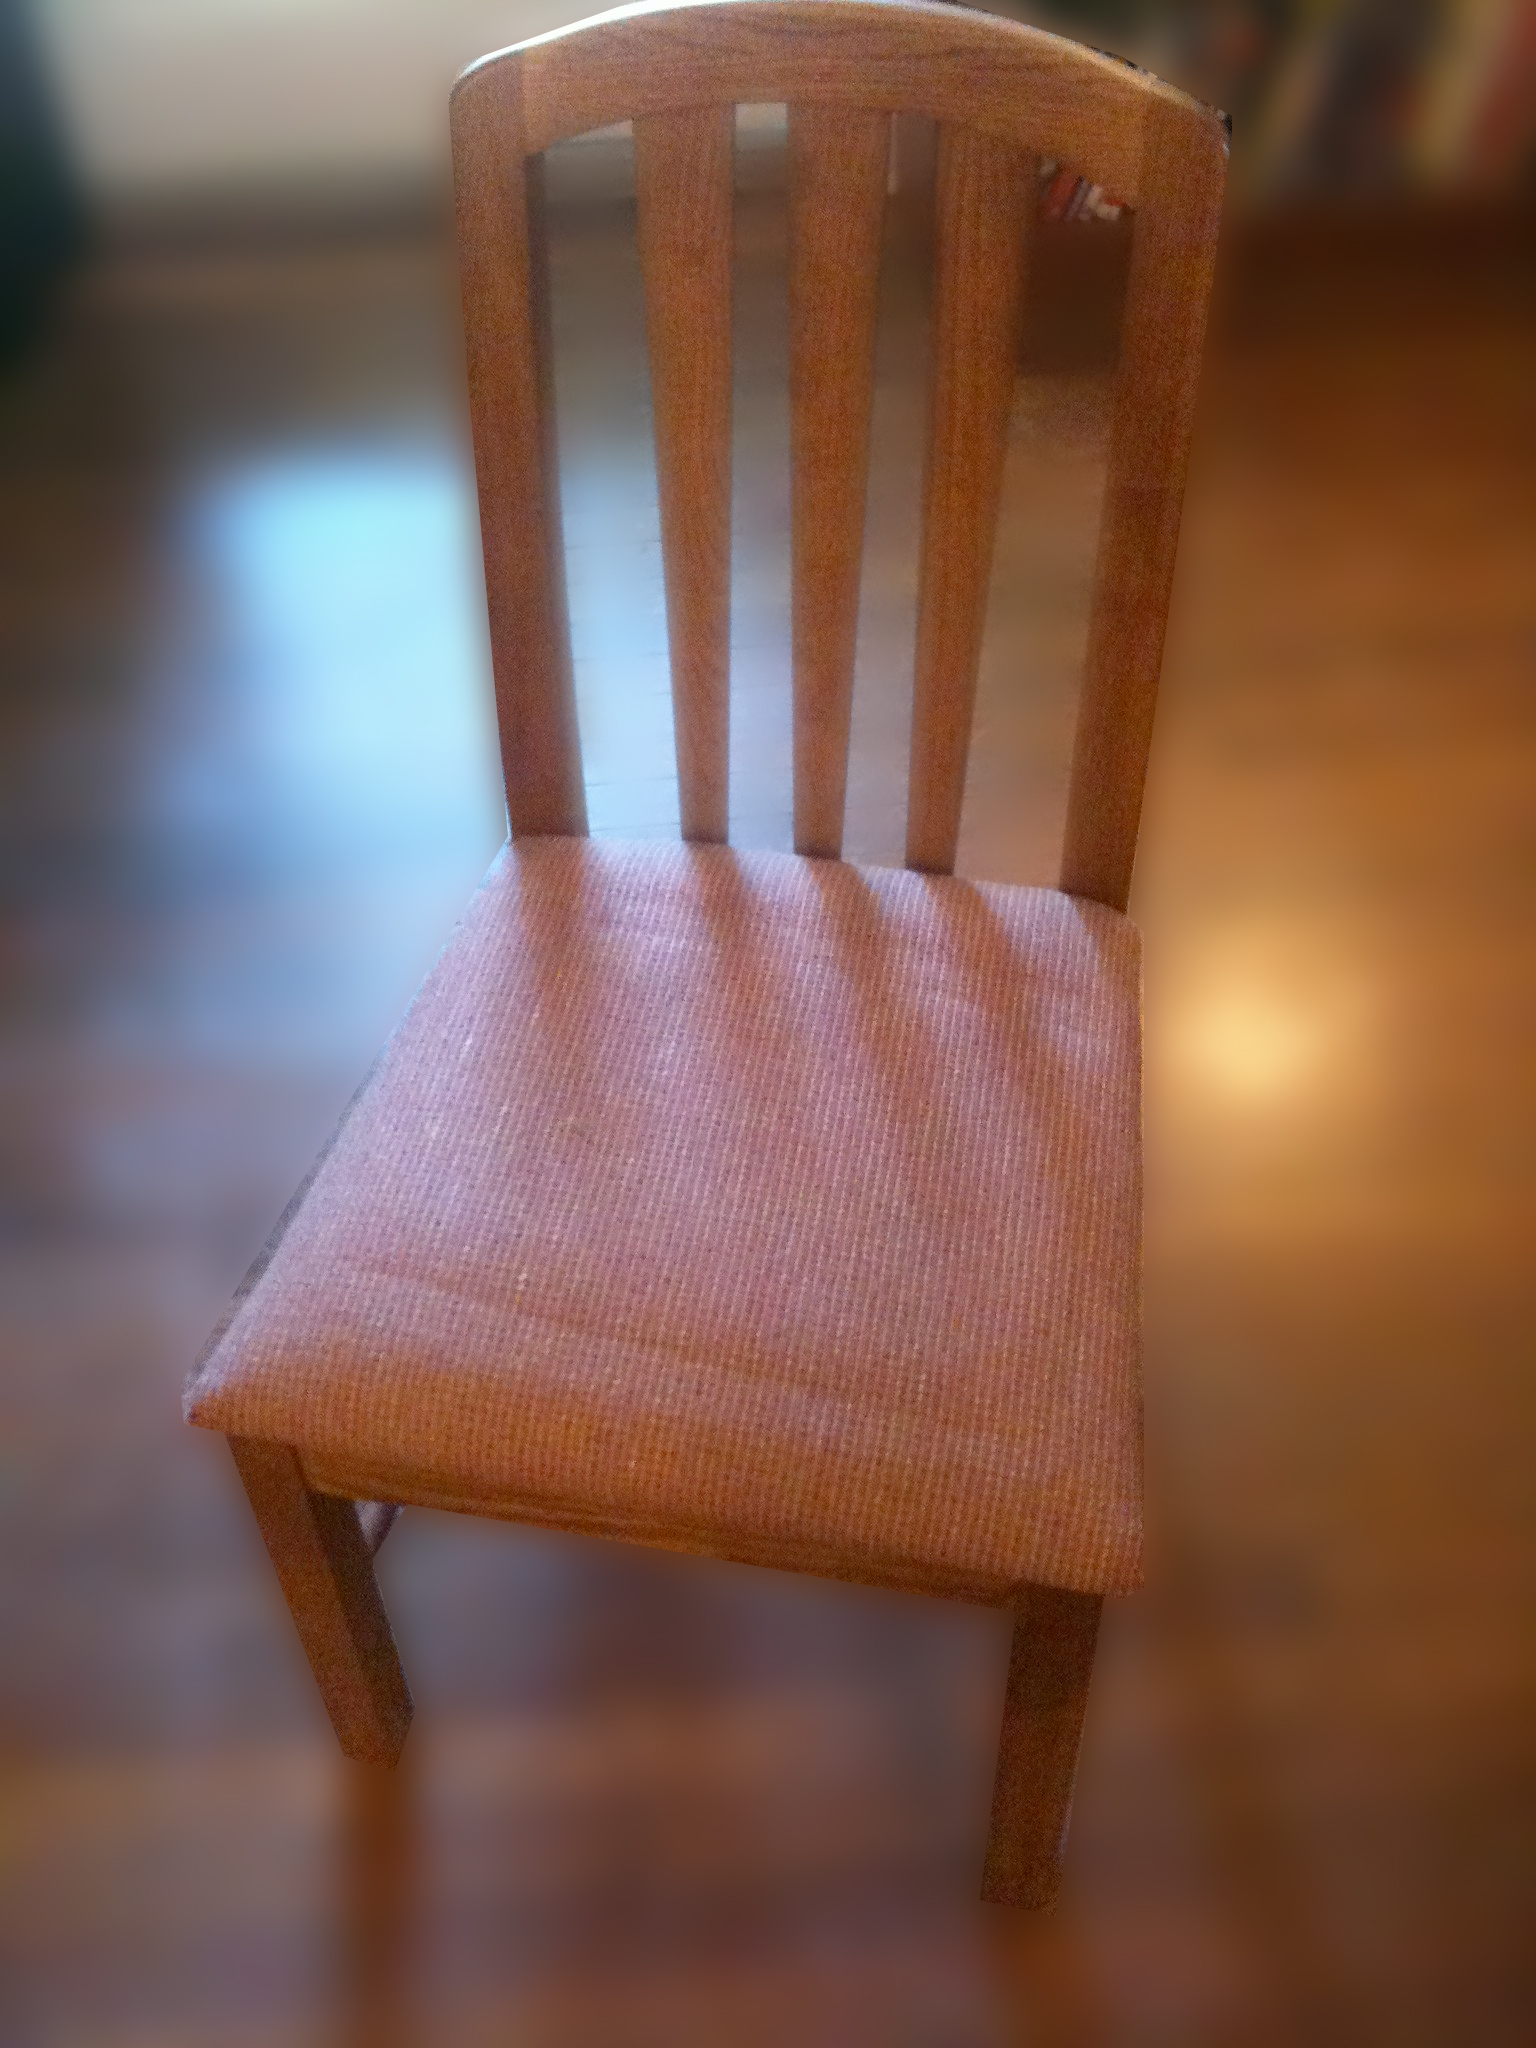
- Caffeinated chair before
-
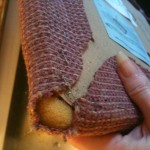
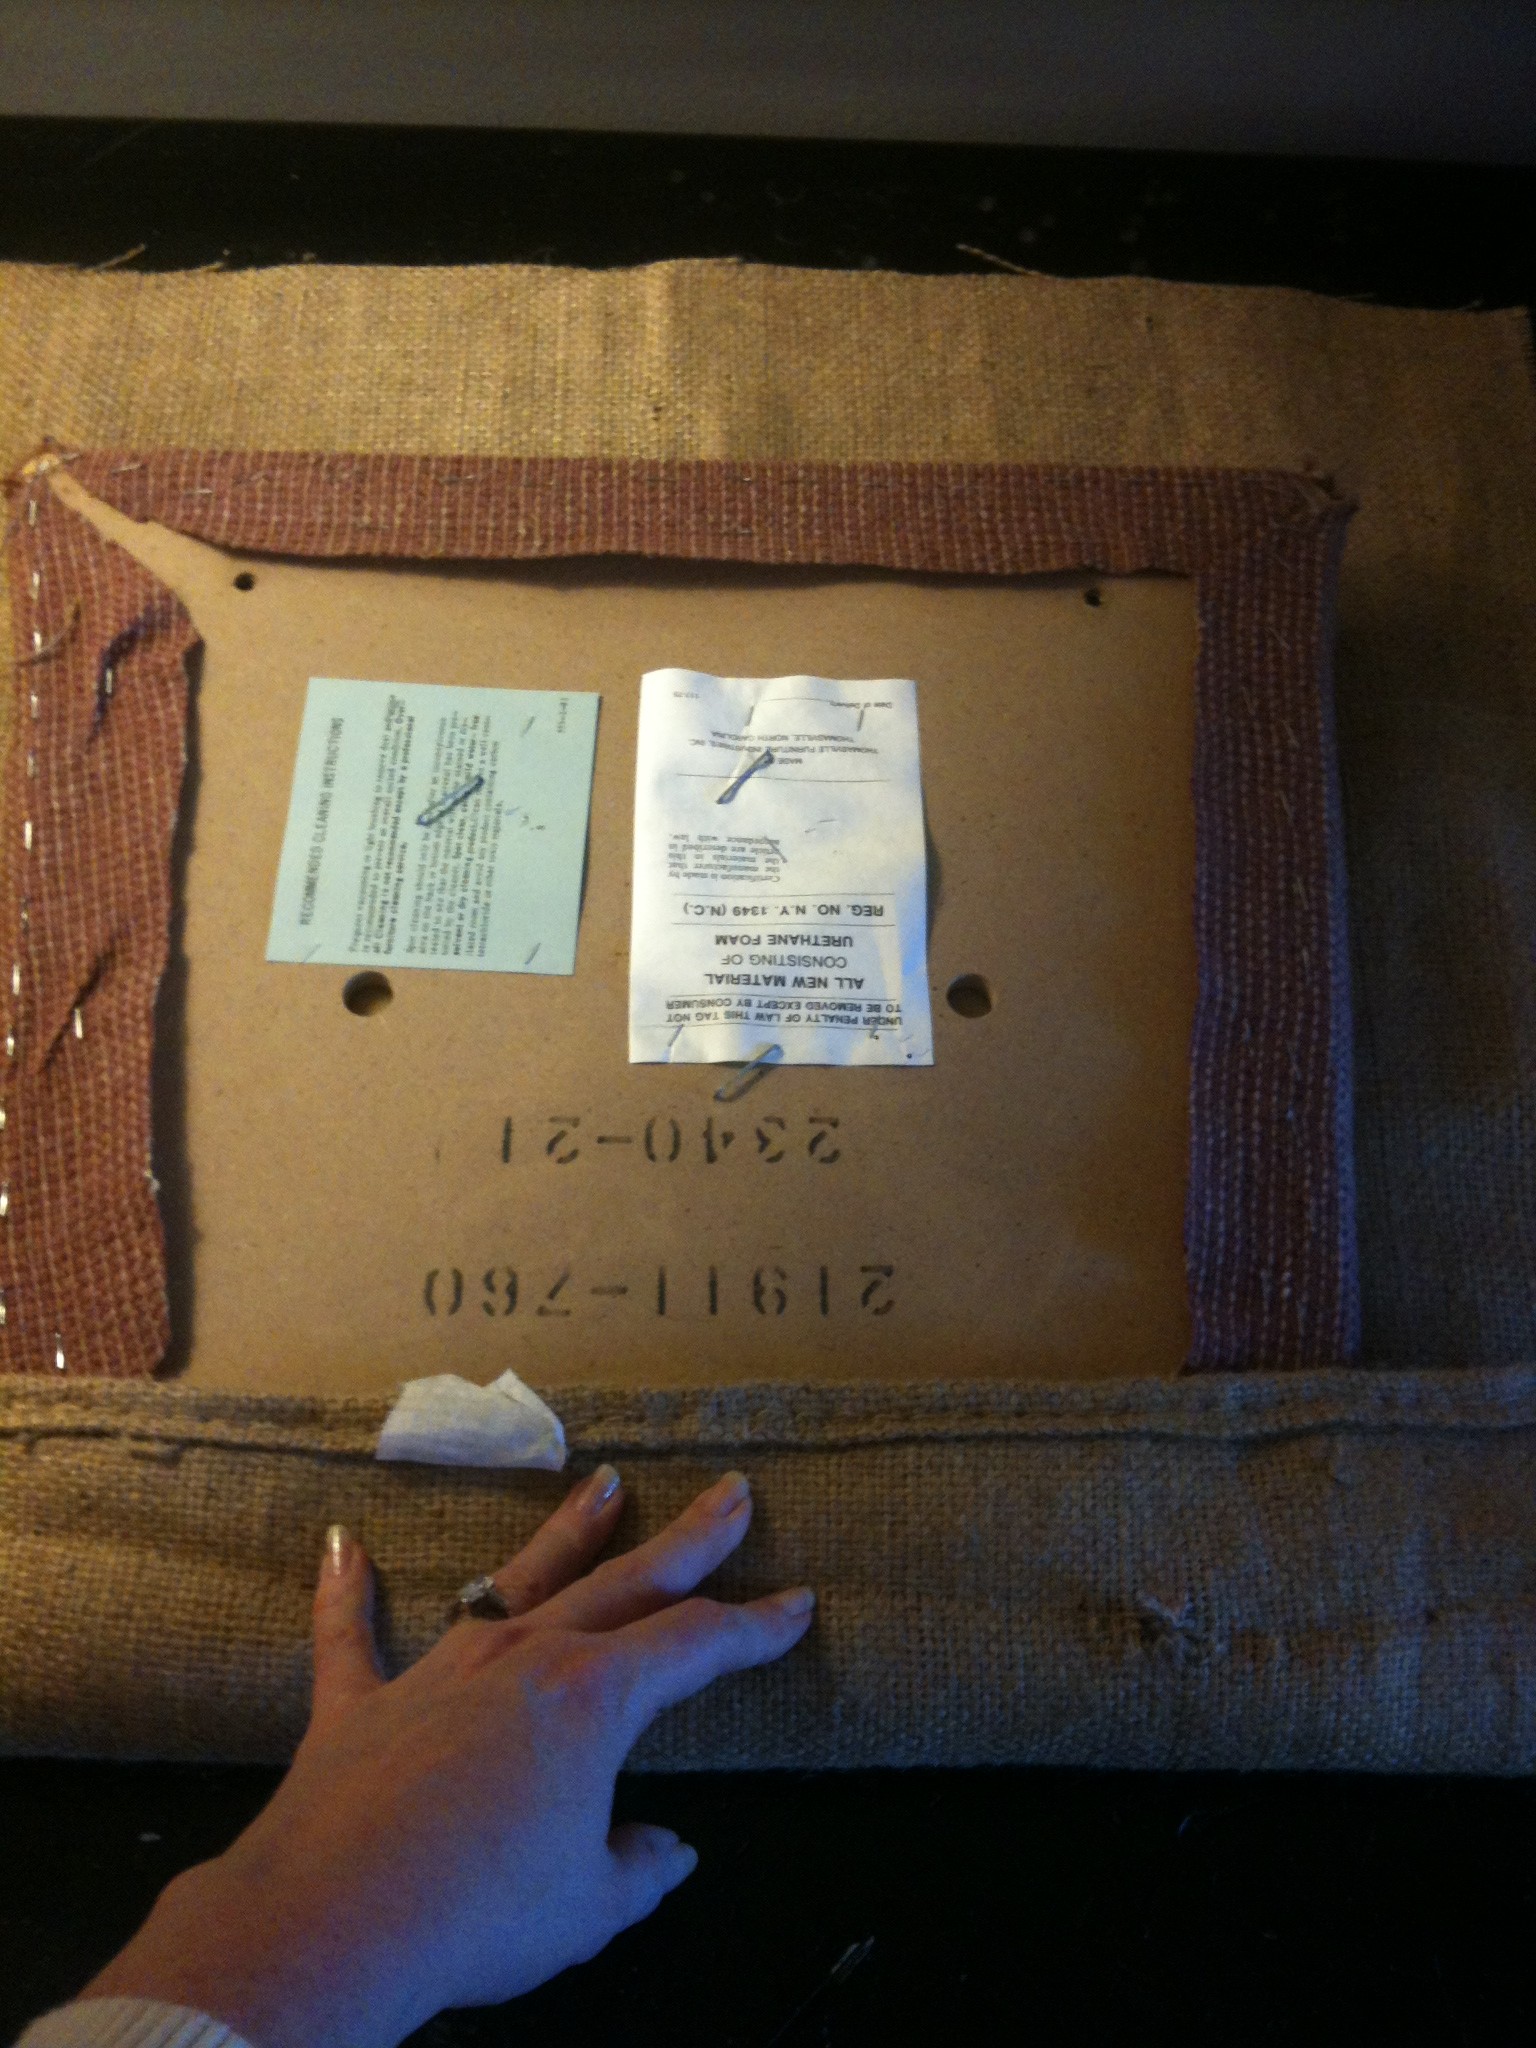
- Inspecting seat
-
- Measuring Seat

-
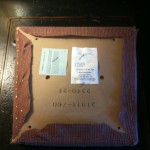
- Centering seat on burlap

-

- Centering the image of the burlap bag on seat

-
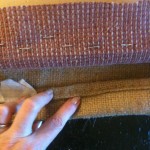
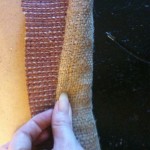
- Fold over edges of burlap before stapling

-
- Cutting burlap to fit seat
-
- Start stapling at the center of seat on all 4 sides

-
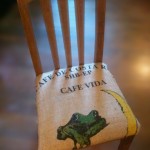
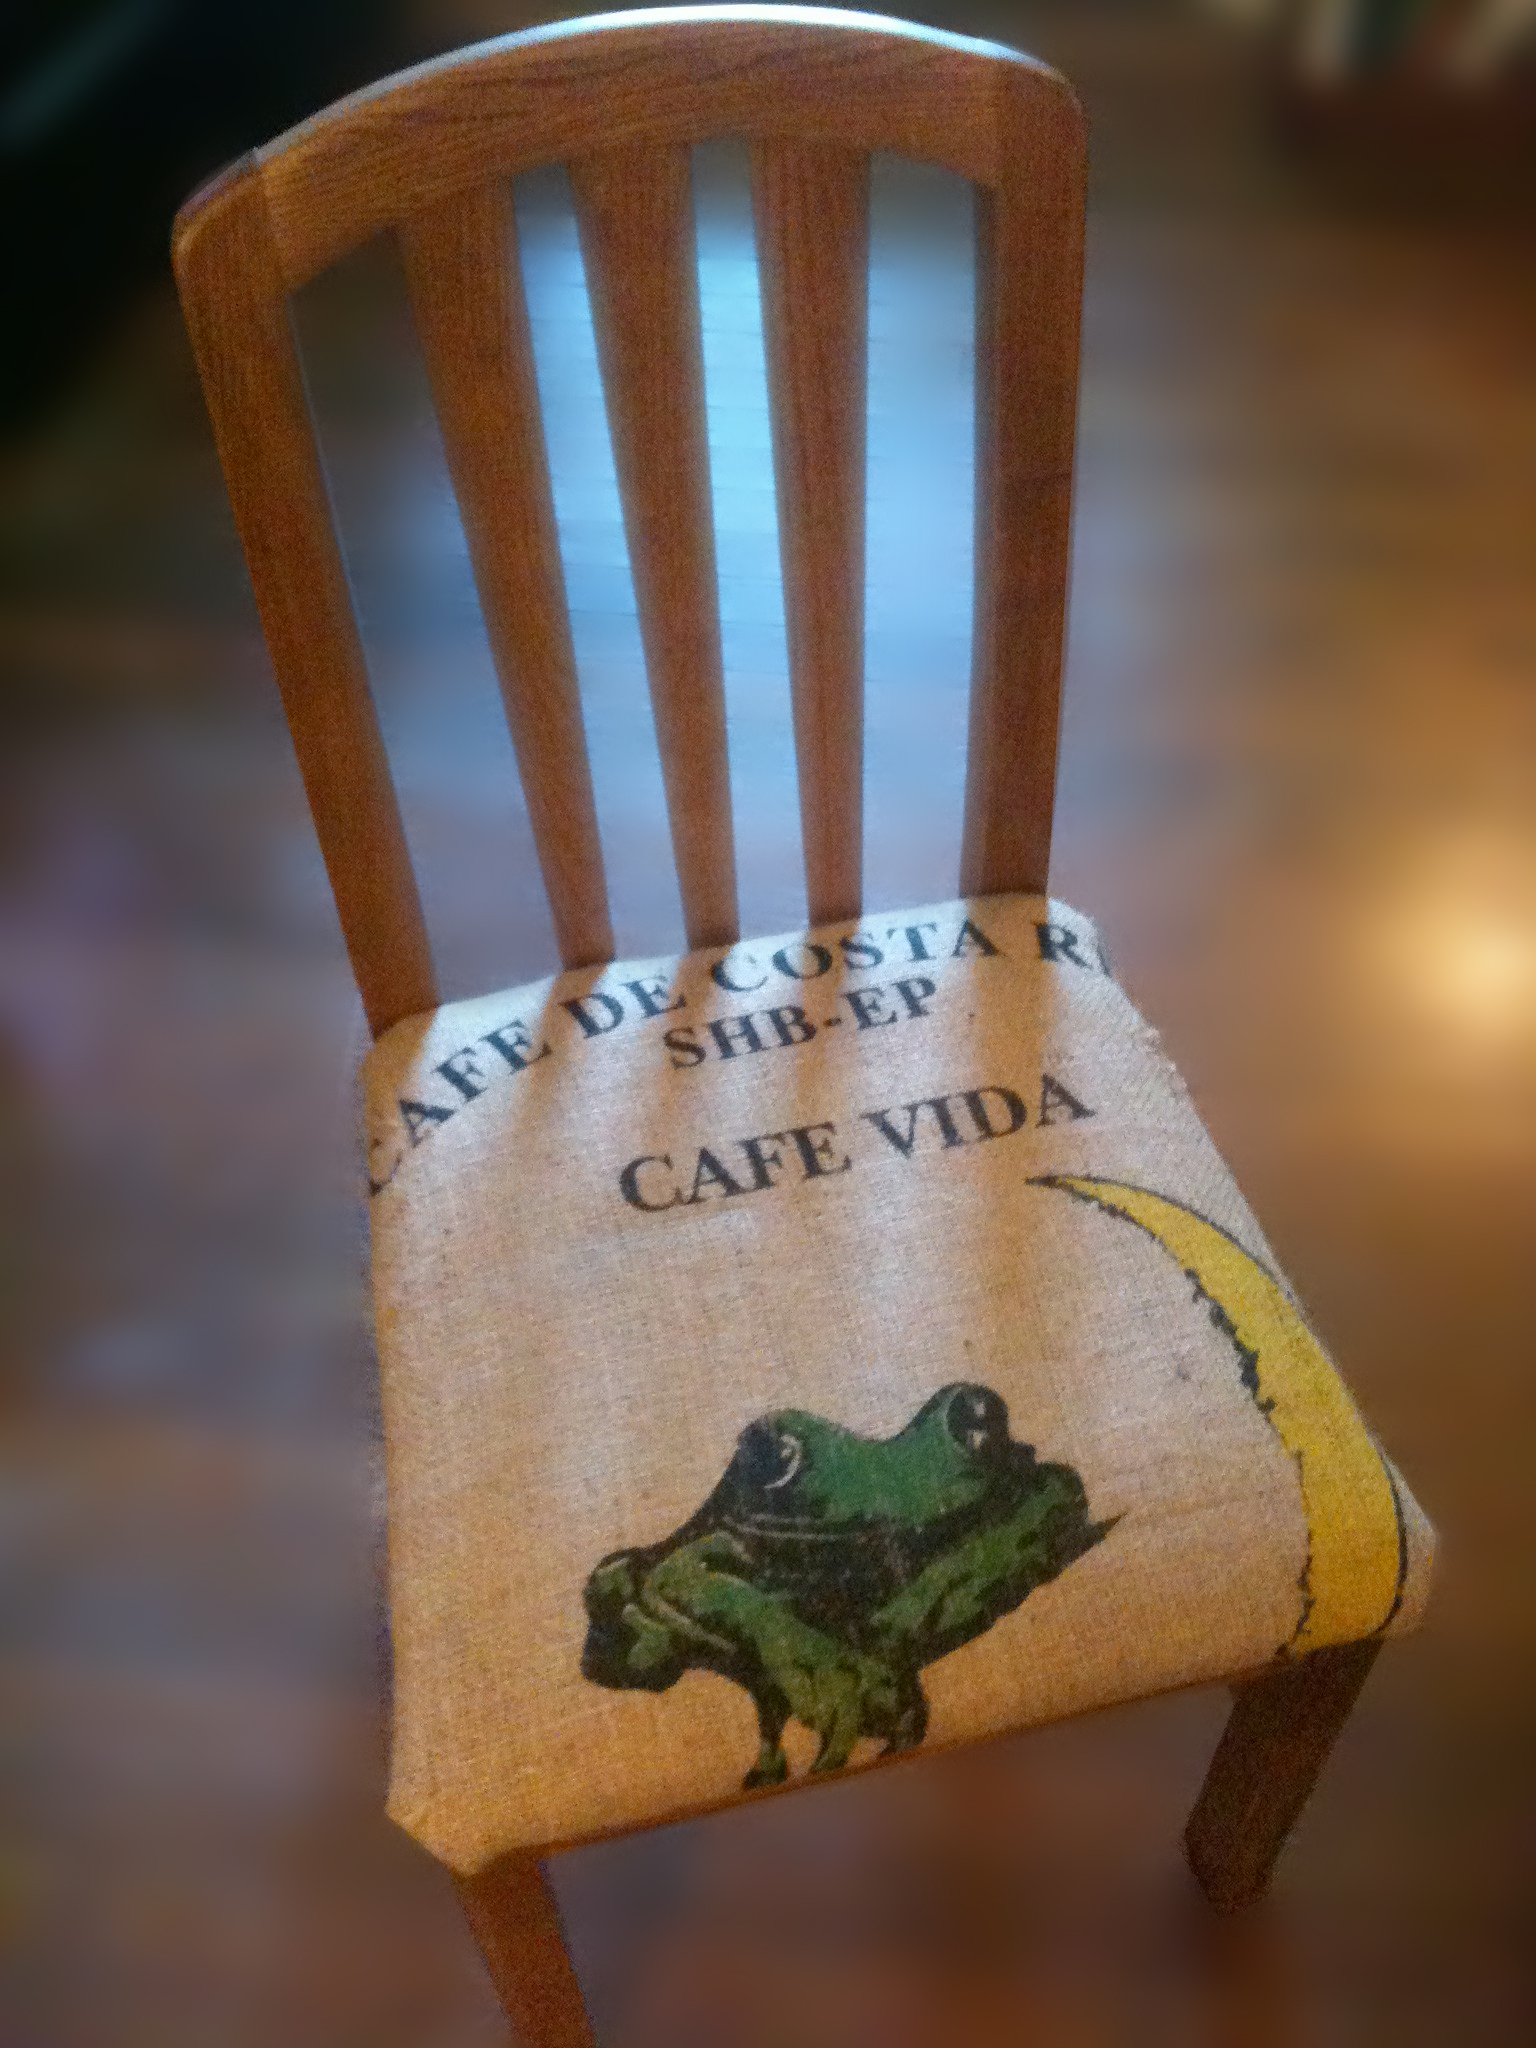
- The Caffeinated Chair
![]()