
 There is nothing I love more than a simple rescue project. . . even better when it has anything to do with travel.
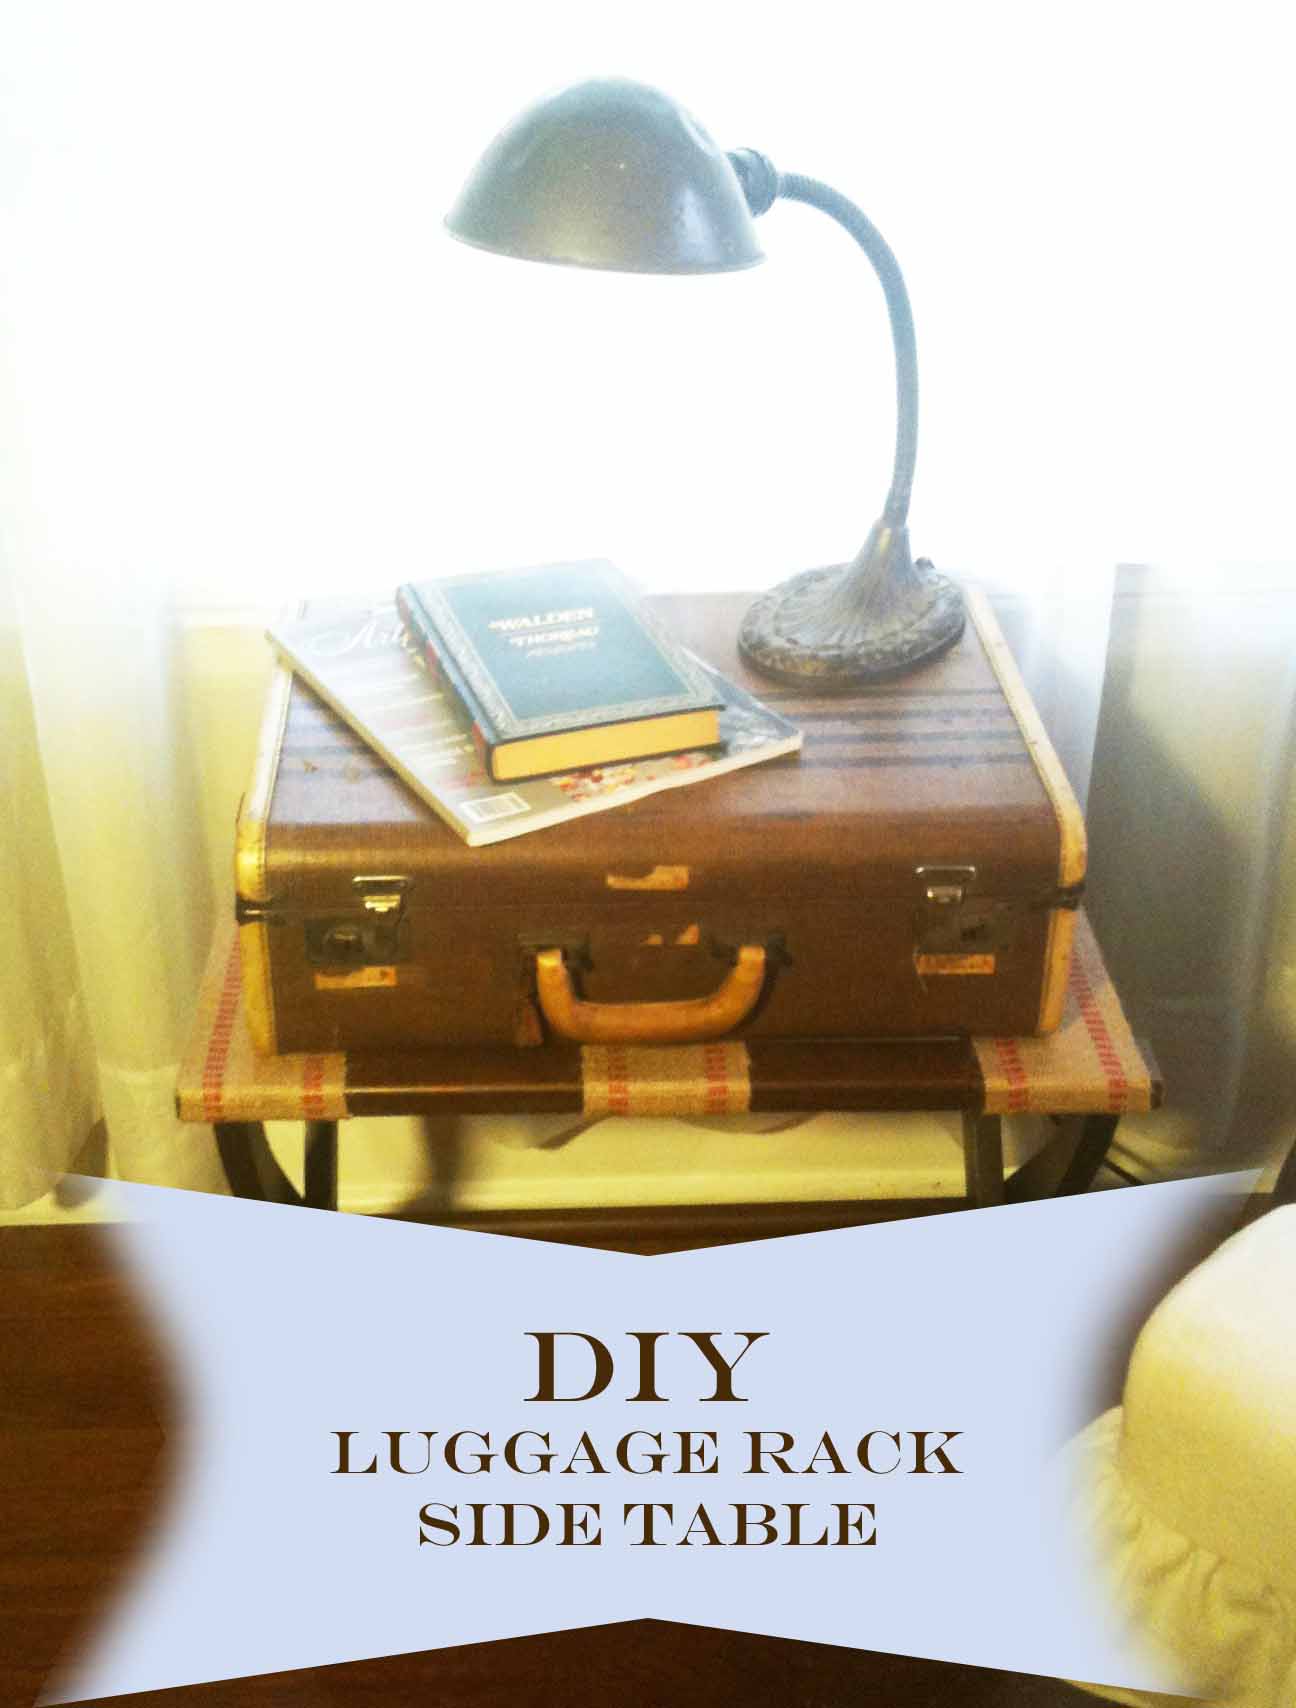
I love vintage luggage and so far there are 2 steamer trunks, 3 footlockers, a 40’s striped case and the beginnings of a Vintage Mid Century Samsonite set (like this one) in my collection. I have used them as coffee tables, door stops, in tables and even a seating option with a few pillows. . . but the one thing I was missing was a luggage rack. . . That was until I was visited a PTA Thrift Shop in Chapel Hill and found this beauty for four dollars. You heard me $4 dollars!
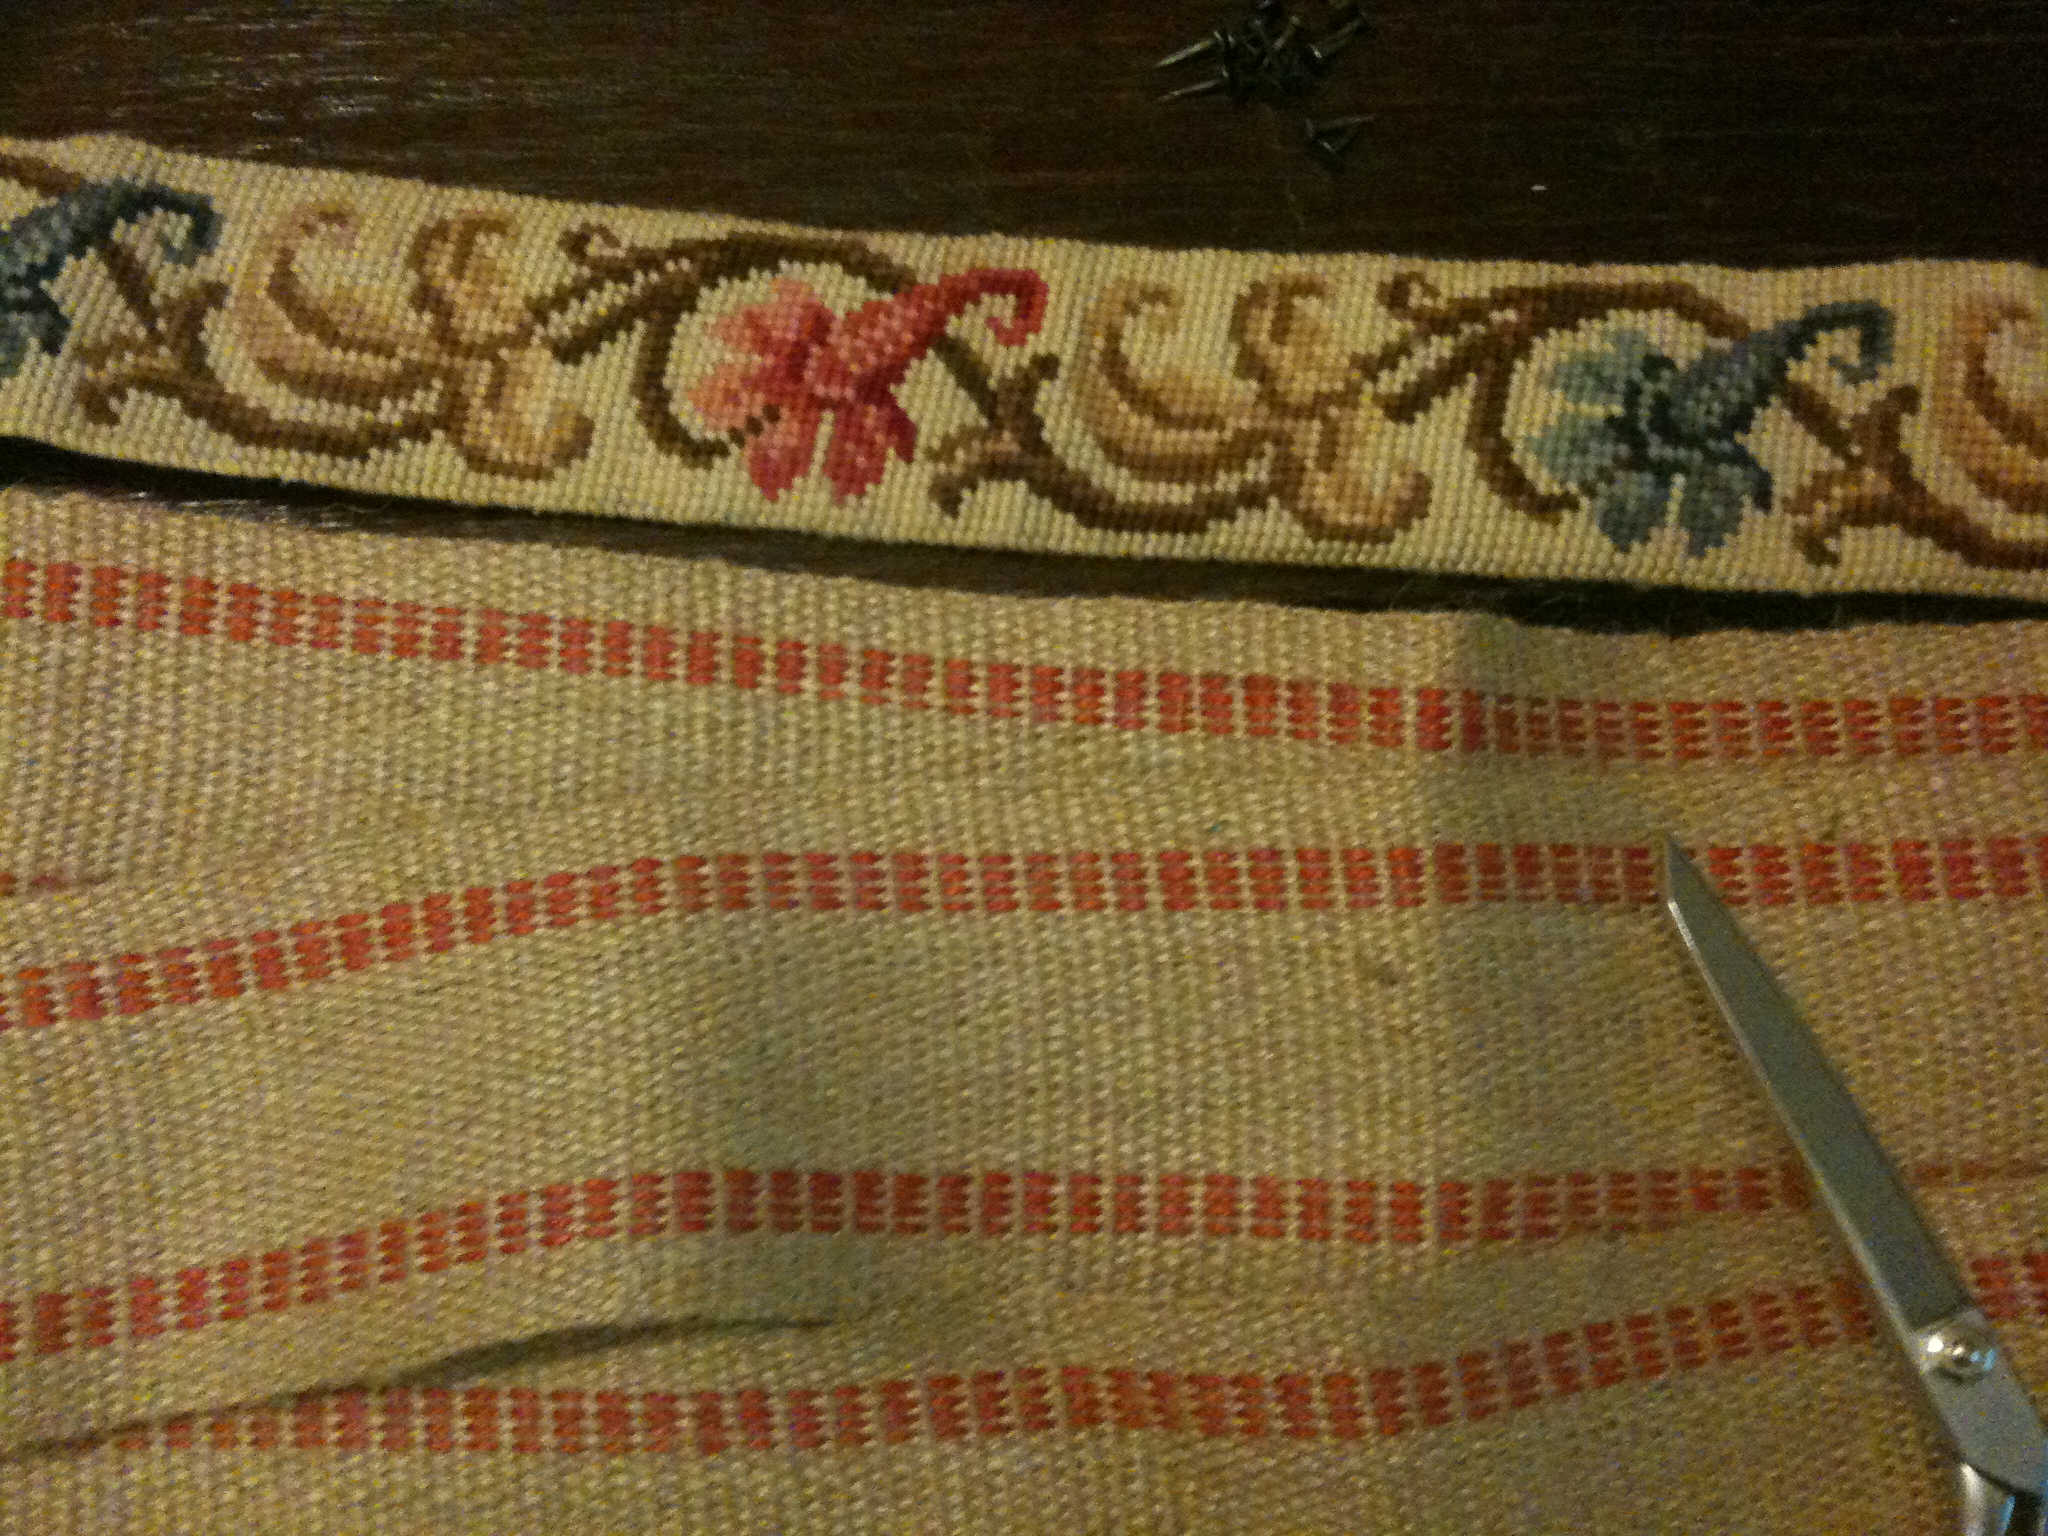
I needed to replace the embroidered tapestry straps (don’t worry I saved them for a future project!) and wanted to use something with a family tie in. The jute webbing straps you see are from my husband’s Great Grandmother who was always prepared to fix a family chair.
This is a great project for a beginner and a perfect way to add a bit of adventure to your home decor or give to your favorite explorer!
Time :
Depends on the condition of your piece – I spent around 2 hours from start to finish. That includes cleaning and cursing.
What you will need :
Luggage rack (preferably in good shape with little need for repair if you are a beginner – experienced DIYers are no shrinking violets from a few broken parts)
Flat head screw driver
Needle nose pliers
metal binder clips
staple gun
hammer
jute webbing or other sturdy fabric
(please – no cheating with hot glue guns!)
scissors
measuring tape
steel wool
Directions :
Start by setting up your work station. I use my dining room table or my project desk in the living room and set up all my tools nearby (that includes a good movie)
Use the flat head screw driver to loosen up the nails in each of the straps being careful NOT to gauge the wood. Take your time on this.
Once strap nails are loose enough, edge your hammer under them to remove. Be sure to mark your straps as you will want to use them as templates for your replacement straps.
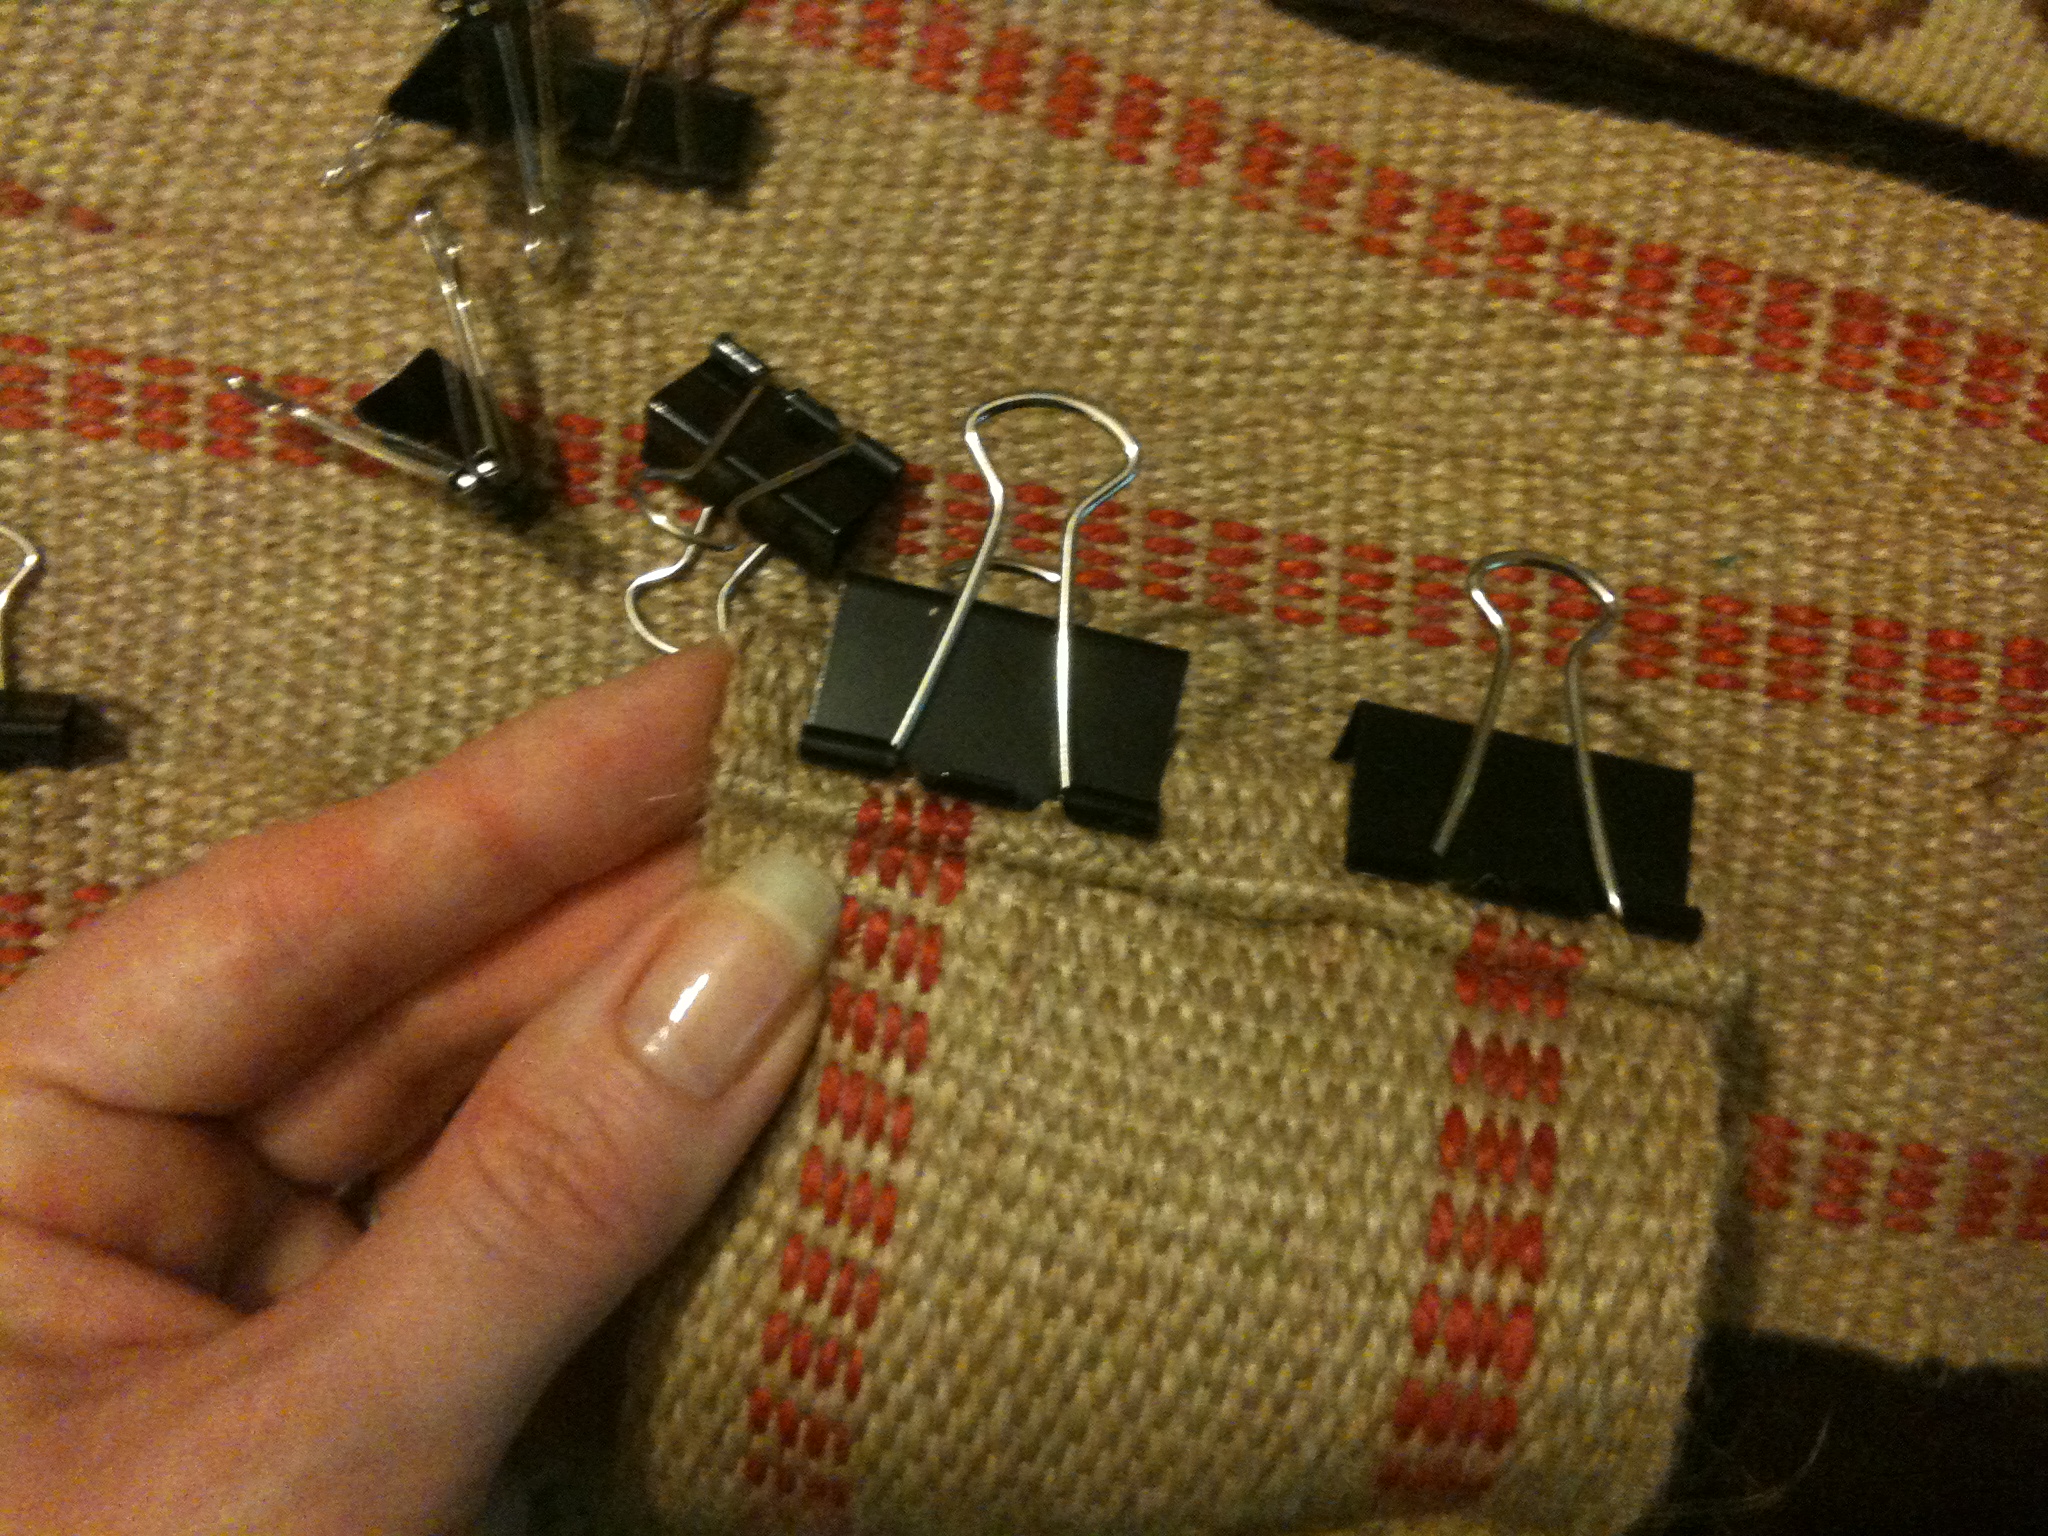
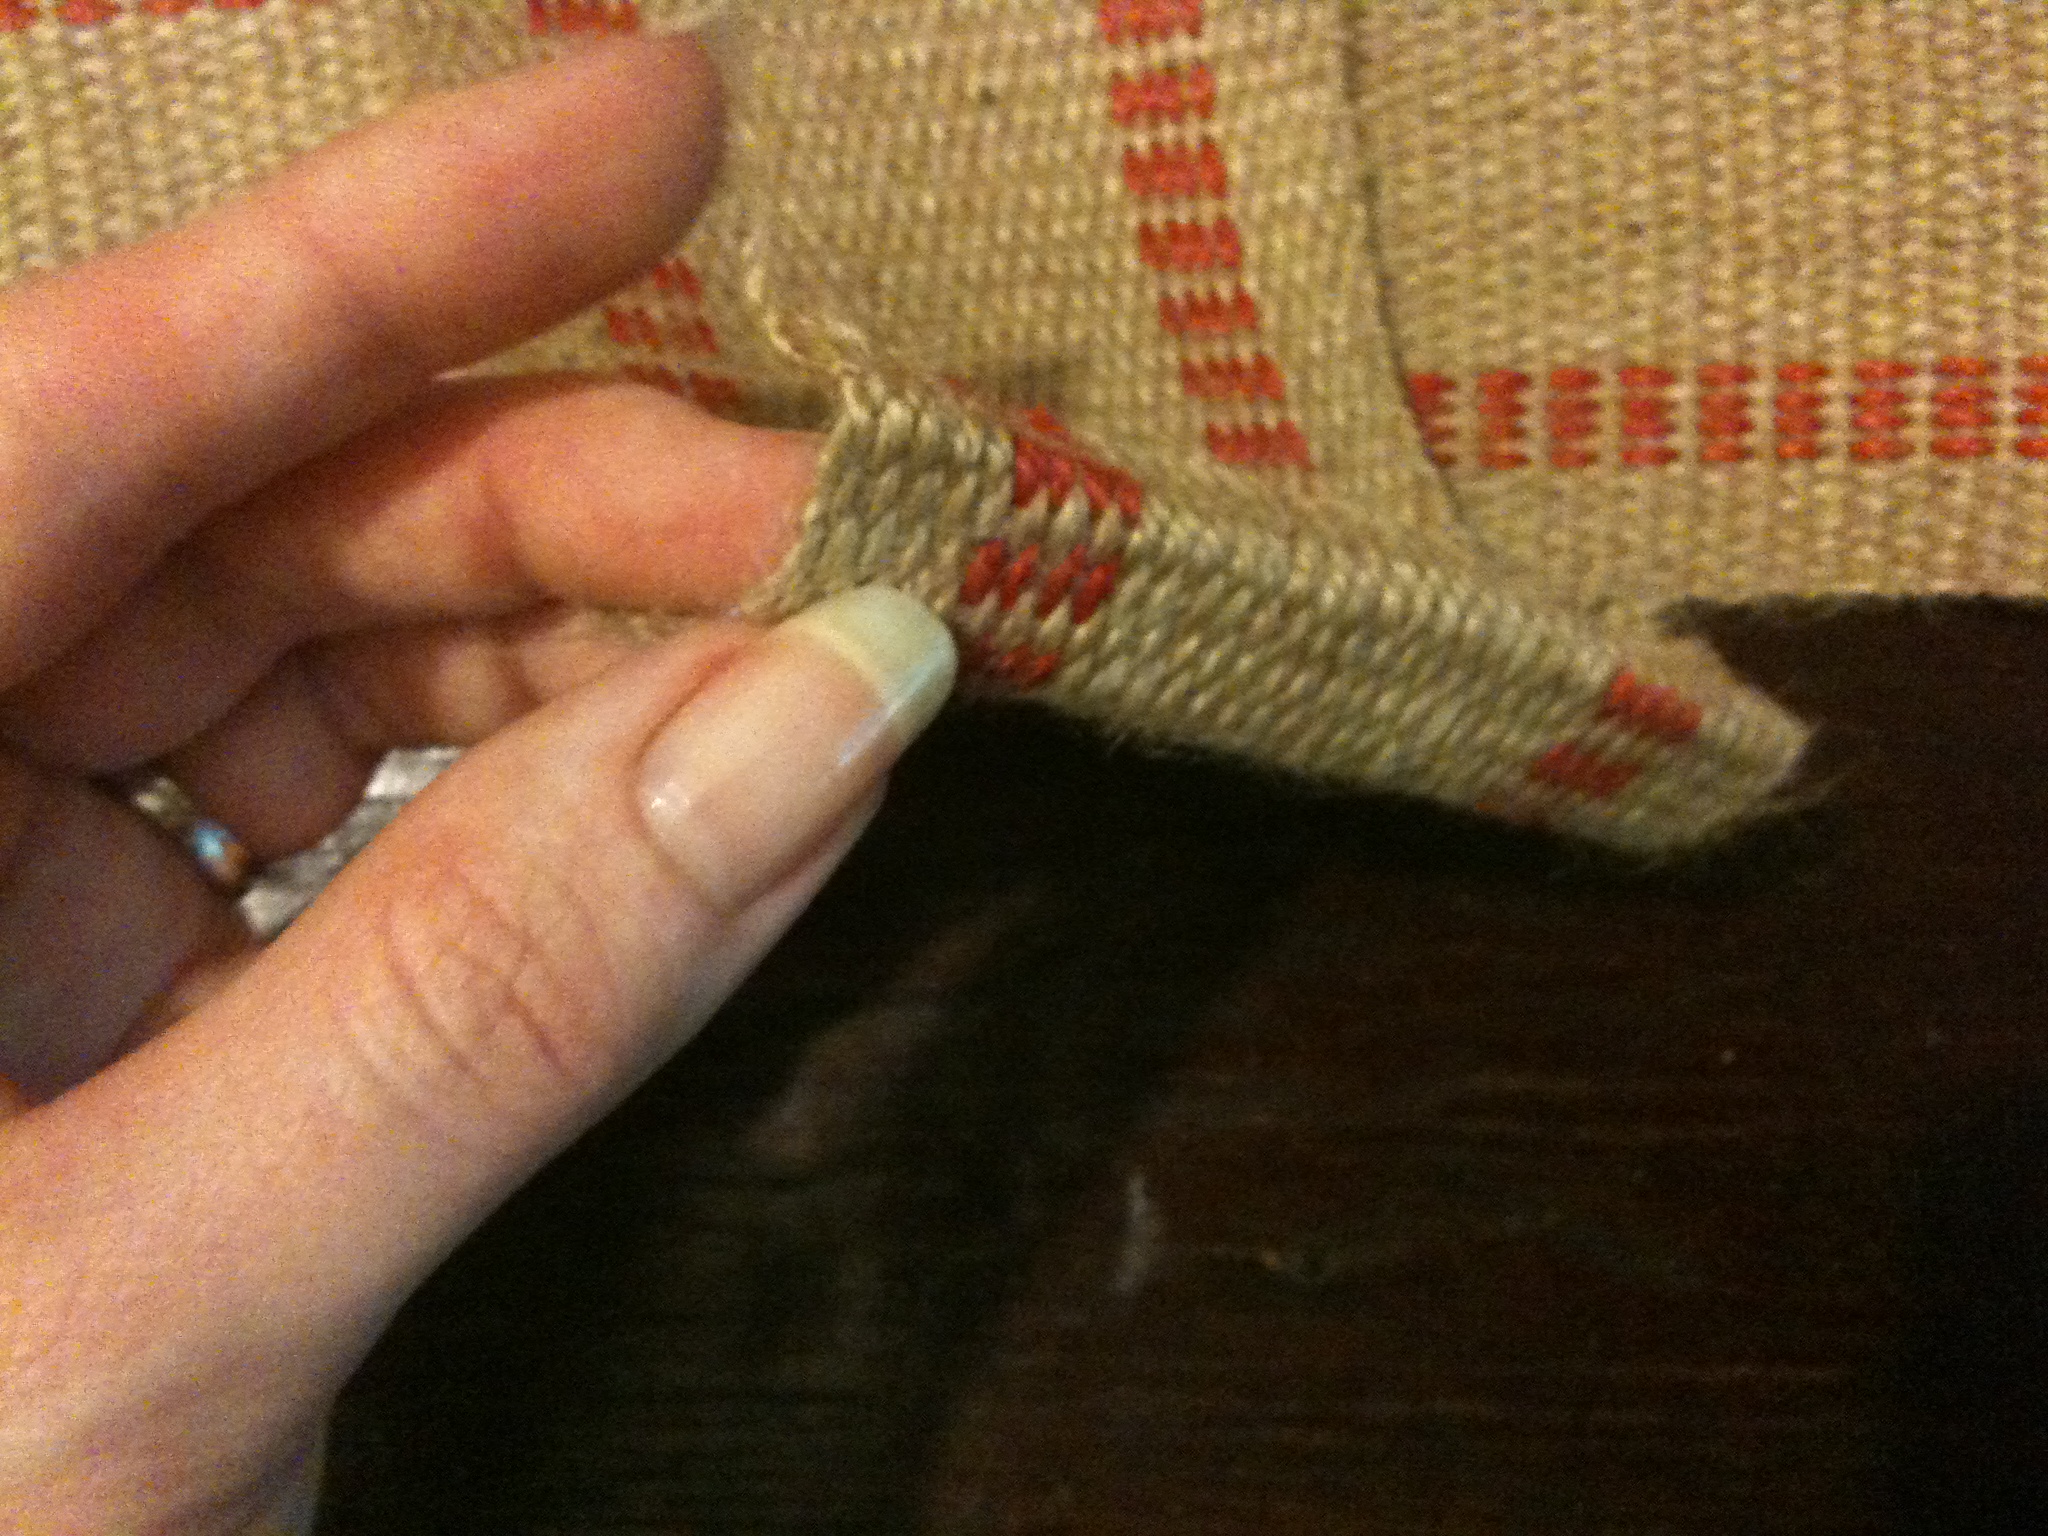
Measure each one of your old straps and cut new straps. I used metal binder clips to fold over the jute webbing twice to create a clean seam and prevent fraying.
Clean your luggage rack with steel wool and use Howard Restor-A-Finish to bring it back to life. No kidding this stuff is liquid gold!
Once luggage rack is clean and dry it’s time to put on your new straps! I used the large metal binding clips to hold my fabric in place while I stapled it in place. I still used the original nails, but because the Jute was a little unruly I wanted to give it that extra strength.
Voila! Pick out your favorite piece of luggage, a lamp and a good book and you are all set.
BIG thanks to PTA Thrift Shop and Howard Restor-A-Finish for making this project fun and easy and, of course, for my husband who indulges my thrift store addiction!


—
What ways are you bringing your love of travel into your home?
![]()